Part 5 - Page Navigation
Currently, it is not possible to display and provide navigation to desired blog pages (e.g., About page), hence the first new feature to be added will be page-navigation. This part of the tutorial explores adding a page navigation-bar via using website structure components and the Liquid templating language.
Investigating the Existing Layout
The root webpage, index.html provides the homepage (i.e., first page the visitor views) and has the following contents:
---
layout: default
title: Home
---

<div class="posts">

</div>

<div class="pagination">

    <span class="pagination-item older">Older</span>


    <span class="pagination-item newer">Newer</span>

</div>
index.html contains YAML (data-based language (TechTarget 2018)1) front-matter (i.e., between a pair of ---) at the top of the text-file, which provides various data-based settings for Jekyll. index.html YAML shows the webpage inherits layout from default.html. The Liquid templating language is also shown to use liquid markup (e.g., {% ... %}) to inject dynamic logic-based content (e.g., post title and content) into the HTML document.
page.html and post.html layouts also inherit from default.html suggesting it is the root layout.
default.html includes the head.html component as shown by its file contents:
<!DOCTYPE html>
<html lang="en">
{% include head.html %}
<body>
<div class="container content">
<header class="masthead">
<h3 class="masthead-title">
<a href="{{ site.baseurl }}/" title="Home">{{ site.title }}</a>
<small>{{ site.tagline }}</small>
</h3>
</header>
<main>
{{ content }}
</main>
<footer class="footer">
<small>
© <time datetime="{{ site.time | date_to_xmlschema }}">{{ site.time | date: '%Y' }}</time>. All rights reserved.
</small>
</footer>
</div>
{% if site.analytics_id %}
<script>
(function(i,s,o,g,r,a,m){i['GoogleAnalyticsObject']=r;i[r]=i[r]||function(){
(i[r].q=i[r].q||[]).push(arguments)},i[r].l=1*new Date();a=s.createElement(o),
m=s.getElementsByTagName(o)[0];a.async=1;a.src=g;m.parentNode.insertBefore(a,m)
})(window,document,'script','//www.google-analytics.com/analytics.js','ga');
ga('create', '{{ site.analytics_id }}', 'auto');
ga('send', 'pageview');
</script>
{% endif %}
</body>
</html>
head.html contains a HTML <head> tag with Liquid logic to display site/page title and references to resources (e.g., CSS stylesheets).
Adding the Page Navigation-bar Component
To promote code-reuse, a page navigation-bar component will be created in _include and used in default.html enabling all webpages to have page-navigation.
Pages to add to the page navigation-bar are included in a nav_pages YAML key-value dictionary in _config.yml. Whilst changes to various settings (e.g., website title) were also made:
# Permalinks
permalink:           pretty

# Setup
title:               Jekyll Blog Creation Tutorial
tagline:             Guide to creating a Jekyll blog
url:                 ""
paginate:            1
baseurl:             ""

# Assets
#
# We specify the directory for Jekyll so we can use @imports.
sass:
  sass_dir:          _sass
  style:            :compressed

# About/contact
author:
  name:              Suraj Sharma
  url:               ""
  email:             example@email.com

# Custom vars
version:             2.0.0
github:
  repo:              https://github.com/example

# Gems
plugins:
  - jekyll-paginate
  - jekyll-gist

# pages to show in page navigation-bar
nav_pages: {'About':'/about/'}
The existing <header> in default.html was extracted to a new header.html file within _include.
header.html’s contents were then refactored using Liquid logic to allow the creation of anchored (i.e., page links via <a>) page titles to the tagline enabling it to serve as a page navigation-bar.
header.html contents:
<header class="masthead">
<h3 class="masthead-title">
{% if include.clink == '/' %}
<a style="text-decoration:underline;" href="{{ site.baseurl }}" title="Home">{{ site.title }}</a>
{% else %}
<a href="{{ site.baseurl }}" title="Home">{{ site.title }}</a>
{% endif %}
{% for npage in site.nav_pages %}
{% if include.clink == npage[1] %}
<small><a style="text-decoration:underline;" href="{{ site.baseurl }}/{{ npage[1] }}">{{ npage[0] }}</a></small>
{% else %}
<small><a href="{{ site.baseurl }}/{{ npage[1] }}">{{ npage[0] }}</a></small>
{% endif %}
{% endfor %}
</h3>
</header>
The Liquid logic used in header.html was originally based on (Lande 2014)2.
The Liquid language provides a feature-rich syntax enabling complex logic and manipulation of content within HTML based on conditions and variables. Liquid is key to generating static webpages via manipulation of content and templates.
Liquid uses 2 forms evaluation including the Output markup (text-resolveable content contained within double curly-brackets, e.g., {{ ... }}) and Tag markup (non-text-resolveable content within percentage-delimited curly-brackets, e.g., {% ... %} ). Output markup can evaluate its contents to generate text whilst Tag markup is used for logic statements.
The header.html Liquid logic can be broken down into 2 parts:
- Adding page titles to tagline to form the navigation-bar
- Optionally adding page title decoration via underlining the current page title (this logic differs between the blog title and tagline page titles since the blog title has different styling to the tagline)
Adding Page Titles
Liquid code in header.html responsible for adding page titles to the tagline is:
{% for npage in site.nav_pages %}

  <small><a href="{{ site.baseurl }}/{{ npage[1] }}">{{ npage[0] }}</a></small>
{% endfor %}
{% ... %} declares a Liquid tag (i.e., logic but cannot resolve to output text). The for loop is used to iterate over given pages within the site-wide dictionary variable nav_pages (previously created in _config.yml), enabling only given pages to be displayed in the tagline page navigation-bar. npage is a temporary iterator variable that takes on the value of the current element in the collection being iterated over. In this case the collection is a nav_pages (i.e., key-value dictionary) mapping page titles (i.e., keys) to their URL paths (i.e., values), hence the current npage URL (i.e., value) can be accessed via npage[1], where the number 1 indicates the attribute to fetch from the npage key-value pair (i.e., if npage="a":"b" then npage[1] yields "b"). Similarly the current npage title can be accessed via npage[0].
The {{ ... }} in {{ site.baseurl }}/{{ npage[1] }} declares a Liquid output (i.e., logic that can resolve to output text). The site variable allows access to default and custom _config.yml site-wide variables. The site.baseurl is important since it is used to generate the final absolute link in the generated static webpage. Appending the current page’s URL via npage[1] ensures its absolute URL is correct if the baseurl changes, i.e., if the website’s URL is username.github.io/poole-master and the page’s URl is /about, then the page’s absolute url will resolve to username.github.io/poole-master/about.
Ergo, for each given page in nav_pages, a <small> link is created with the page’s title as it text and its URL as the link it navigates to.
Decorating the Currently Displayed Page Title
Liquid code in header.html responsible for decorating (underlining) page titles is:
{% if include.clink == npage[1] %}
  <small><a style="text-decoration:underline;" href="{{ site.baseurl }}/{{ npage[1] }}">{{ npage[0] }}</a></small>
{% else %}
  <small><a href="{{ site.baseurl }}/{{ npage[1] }}">{{ npage[0] }}</a></small>
{% endif %}
include holds parameter variables that were passed to an _include component (such as header.html) and clink represents the currently displayed page’s url. Hence, it is possible to detect whether a page in the for loop is the currently displayed page via include.clink == npage[1] where npage[1] is the current page in the loop. If the current page in the loop is the displayed page, then inline-CSS is used to apply an underline style (this could equally be done via a CSS class), otherwise no style is applied.
Decorating the Blog Title
Liquid code in header.html responsible for decorating (underlining) the blog title is:
{% if include.clink == '/' %}
  <a style="text-decoration:underline;" href="{{ site.baseurl }}" title="Home">{{ site.title }}</a>
{% else %}
  <a href="{{ site.baseurl }}" title="Home">{{ site.title }}</a>
{% endif %}
The blog title requires similar but separate decoration logic since it has different styling to the smaller, light grey tagline titles.
When currently displayed, the homepage (i.e., index.md) will pass / in clink. Hence when the homepage is displayed, underlining is applied to its link, otherwise no underlining is applied. site.baseurl is used as the blog title’s link to ensure it only navigates to the homepage of the blog (i.e., baseurl) rather than the homepage of the host (i.e., url).
Through this implementation, existing theme HTML components (i.e., blog title and tagline, and styling) can be reused and adapted to provide new functionality with minimal changes.
Using the Page Navigation-bar Component
The header.html component can be included in all webpages by via its inclusion in
default.html as shown via this snippet (clink=page.url passes the current page’s URL for use with aforementioned page link logic):
<!DOCTYPE html>
<html lang="en">
{% include head.html %}
<body>
<div class="container content">
{% include header.html clink=page.url %}
<main>
{{ content }}
</main>
<footer class="footer">
<small>
© <time datetime="{{ site.time | date_to_xmlschema }}">{{ site.time | date: '%Y' }}</time>. All rights reserved.
</small>
</footer>
</div>
{% if site.analytics_id %}
<script>
(function(i,s,o,g,r,a,m){i['GoogleAnalyticsObject']=r;i[r]=i[r]||function(){
(i[r].q=i[r].q||[]).push(arguments)},i[r].l=1*new Date();a=s.createElement(o),
m=s.getElementsByTagName(o)[0];a.async=1;a.src=g;m.parentNode.insertBefore(a,m)
})(window,document,'script','//www.google-analytics.com/analytics.js','ga');
ga('create', '{{ site.analytics_id }}', 'auto');
ga('send', 'pageview');
</script>
{% endif %}
</body>
</html>
Building and viewing the poole-master website in a web-browser displays an About page title in the tagline:
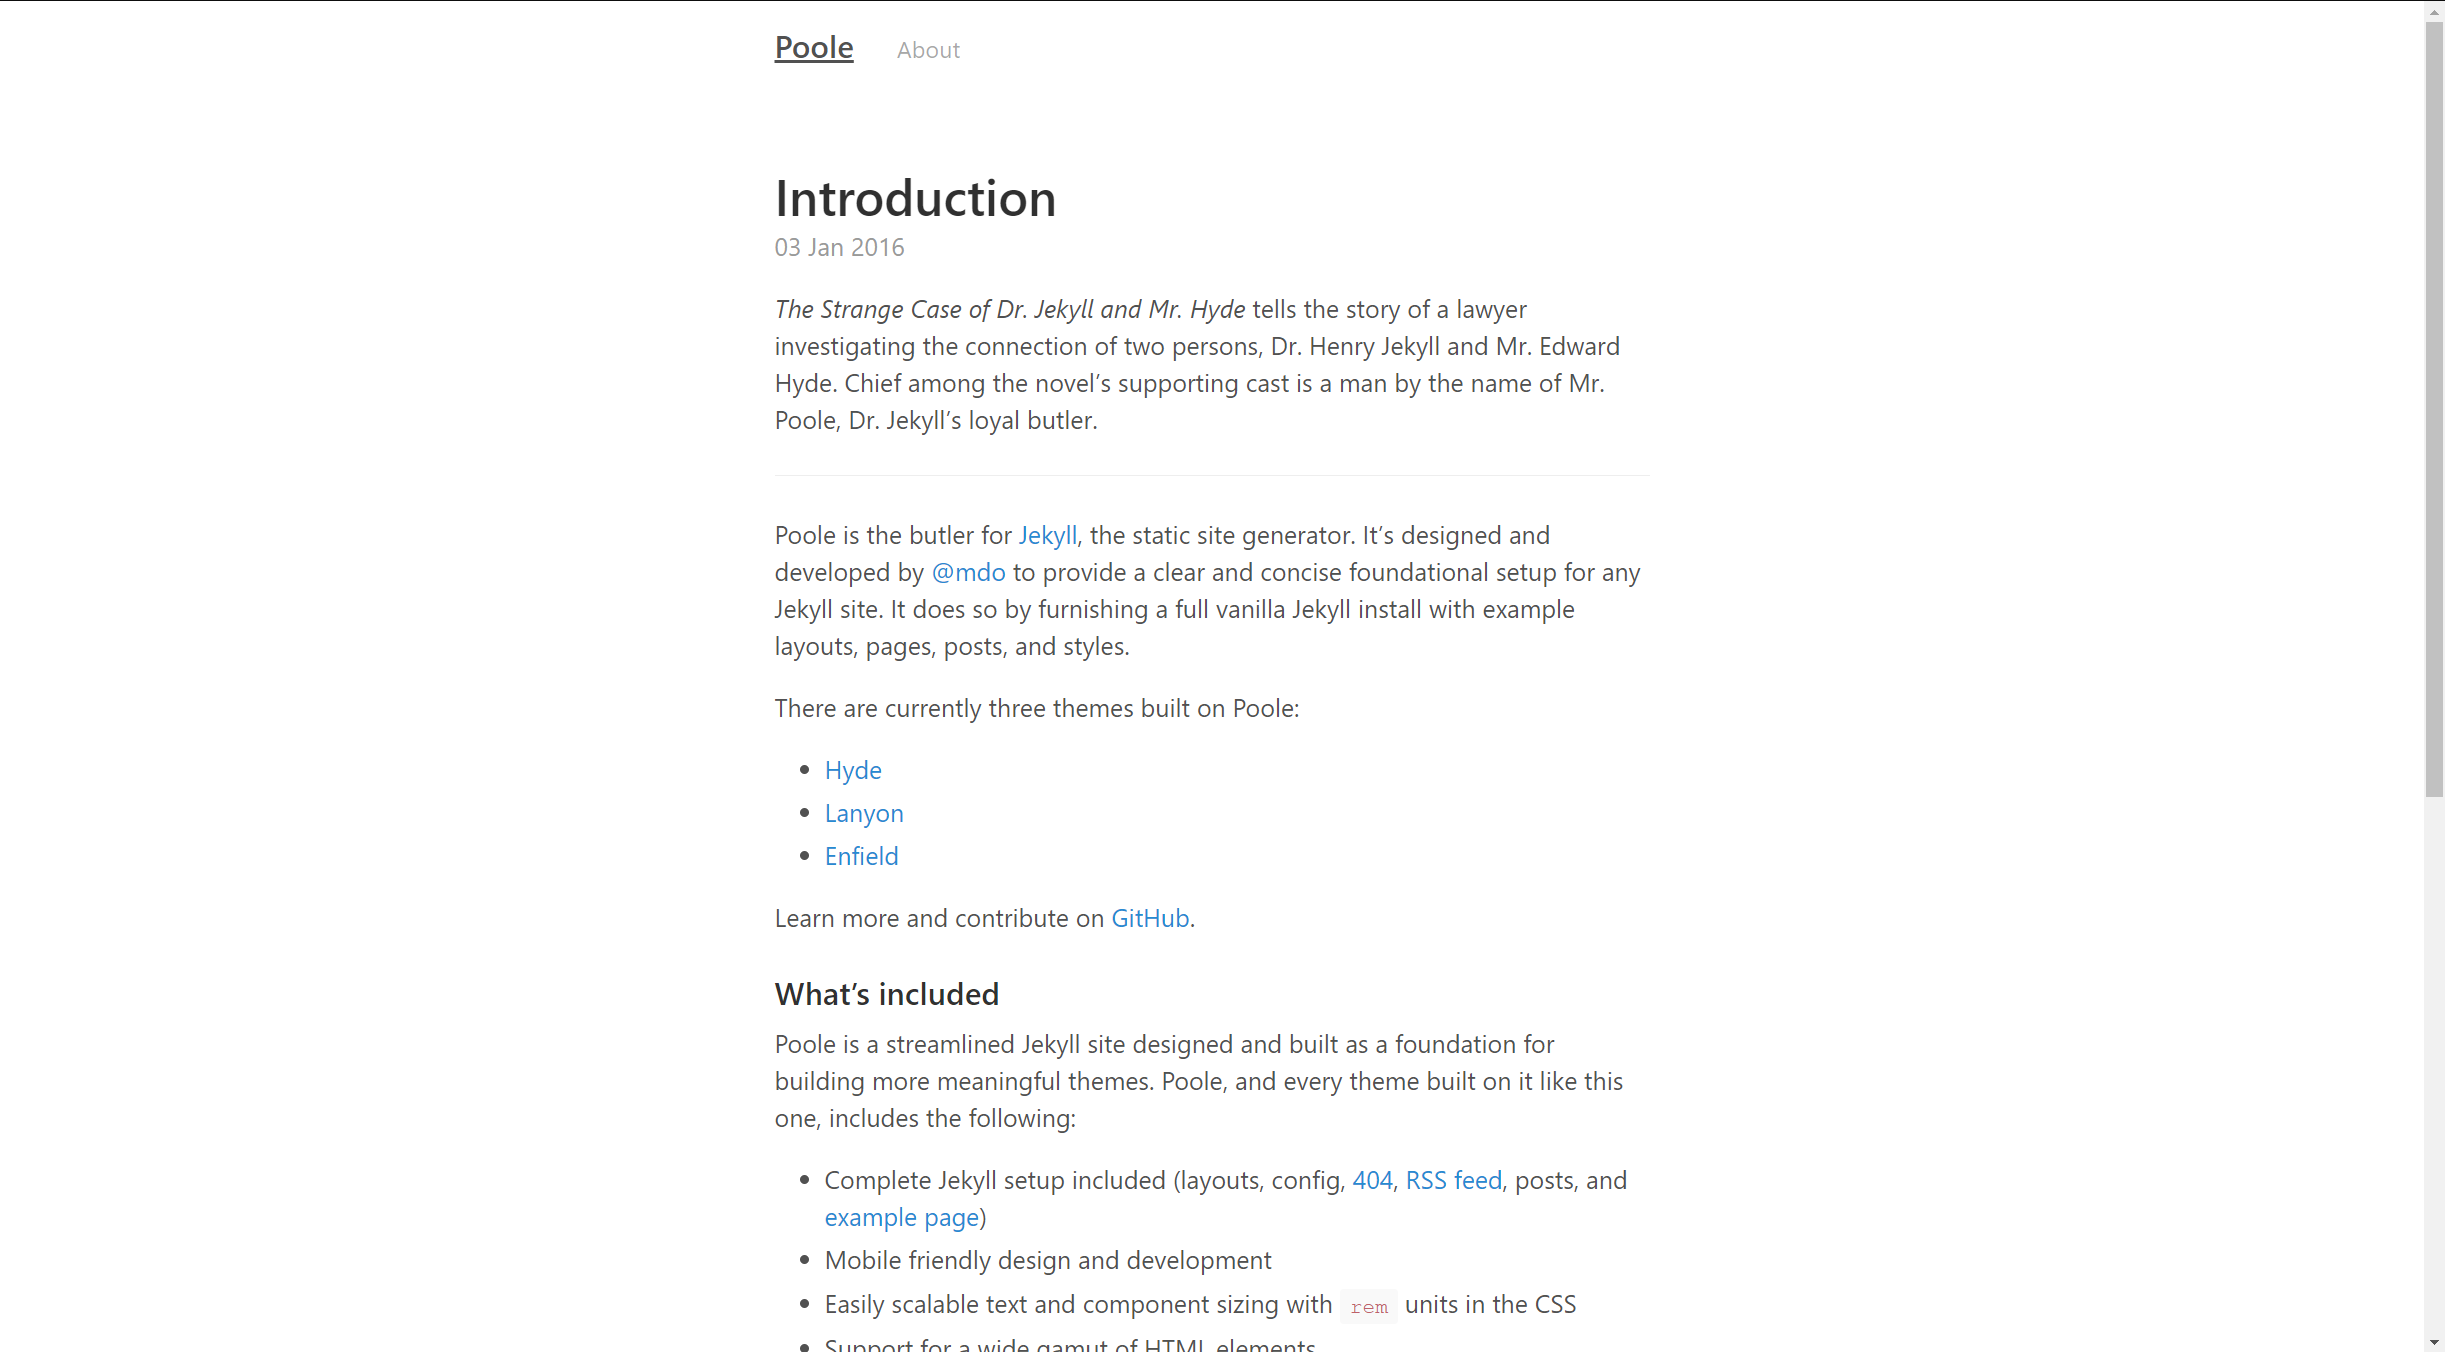
The About page is displayed since it exists in the website structure and is declared in the nav_pages dictionary in _config.
To conclude this part of the tutorial, the steps to adding page-navigation to the Poole theme are:
- A YAML dictionary mapping desired page titles and their URL must be declared in
_config.yml - The existing
<header>indefault.htmlin_layoutmust be extracted to a newheader.htmlcomponent in_include - The
<header>inheader.htmlmust be refactored and augmented via Liquid and relevant HTML to provide logic to add page title links to the blog tagline hence serving as page-navigation - Similar Liquid and HTML logic can be applied to underline the displayed page’s title in page-navigation
References
-
TechTarget (2018). What is YAML (YAML Ain’t Markup Language)? [online] Available at:https://searchitoperations.techtarget.com/definition/YAML-YAML-Aint-Markup-Language [Accessed 31st Dec. 2018]. ↩